
 Homemanager Docs
Connecting Your Server
Connect Homebridge or HOOBS to Homemanager on iOS & iPadOS: Automatic mDNS discovery, initial user setup, manual IP configuration, and troubleshooting.
Connecting Homebridge and HOOBS to Homemanager
Homemanager connects directly to the APIs provided by the Homebridge web interface (homebridge-config-ui-x) and the HOOBS Core API. You do not need any companion bridge plugins or custom server packages.
You can establish the connection in two ways: automatically through local mDNS discovery, or manually by specifying an IP address and port.
 Download Homemanager for free on the App Store for iPhone & iPad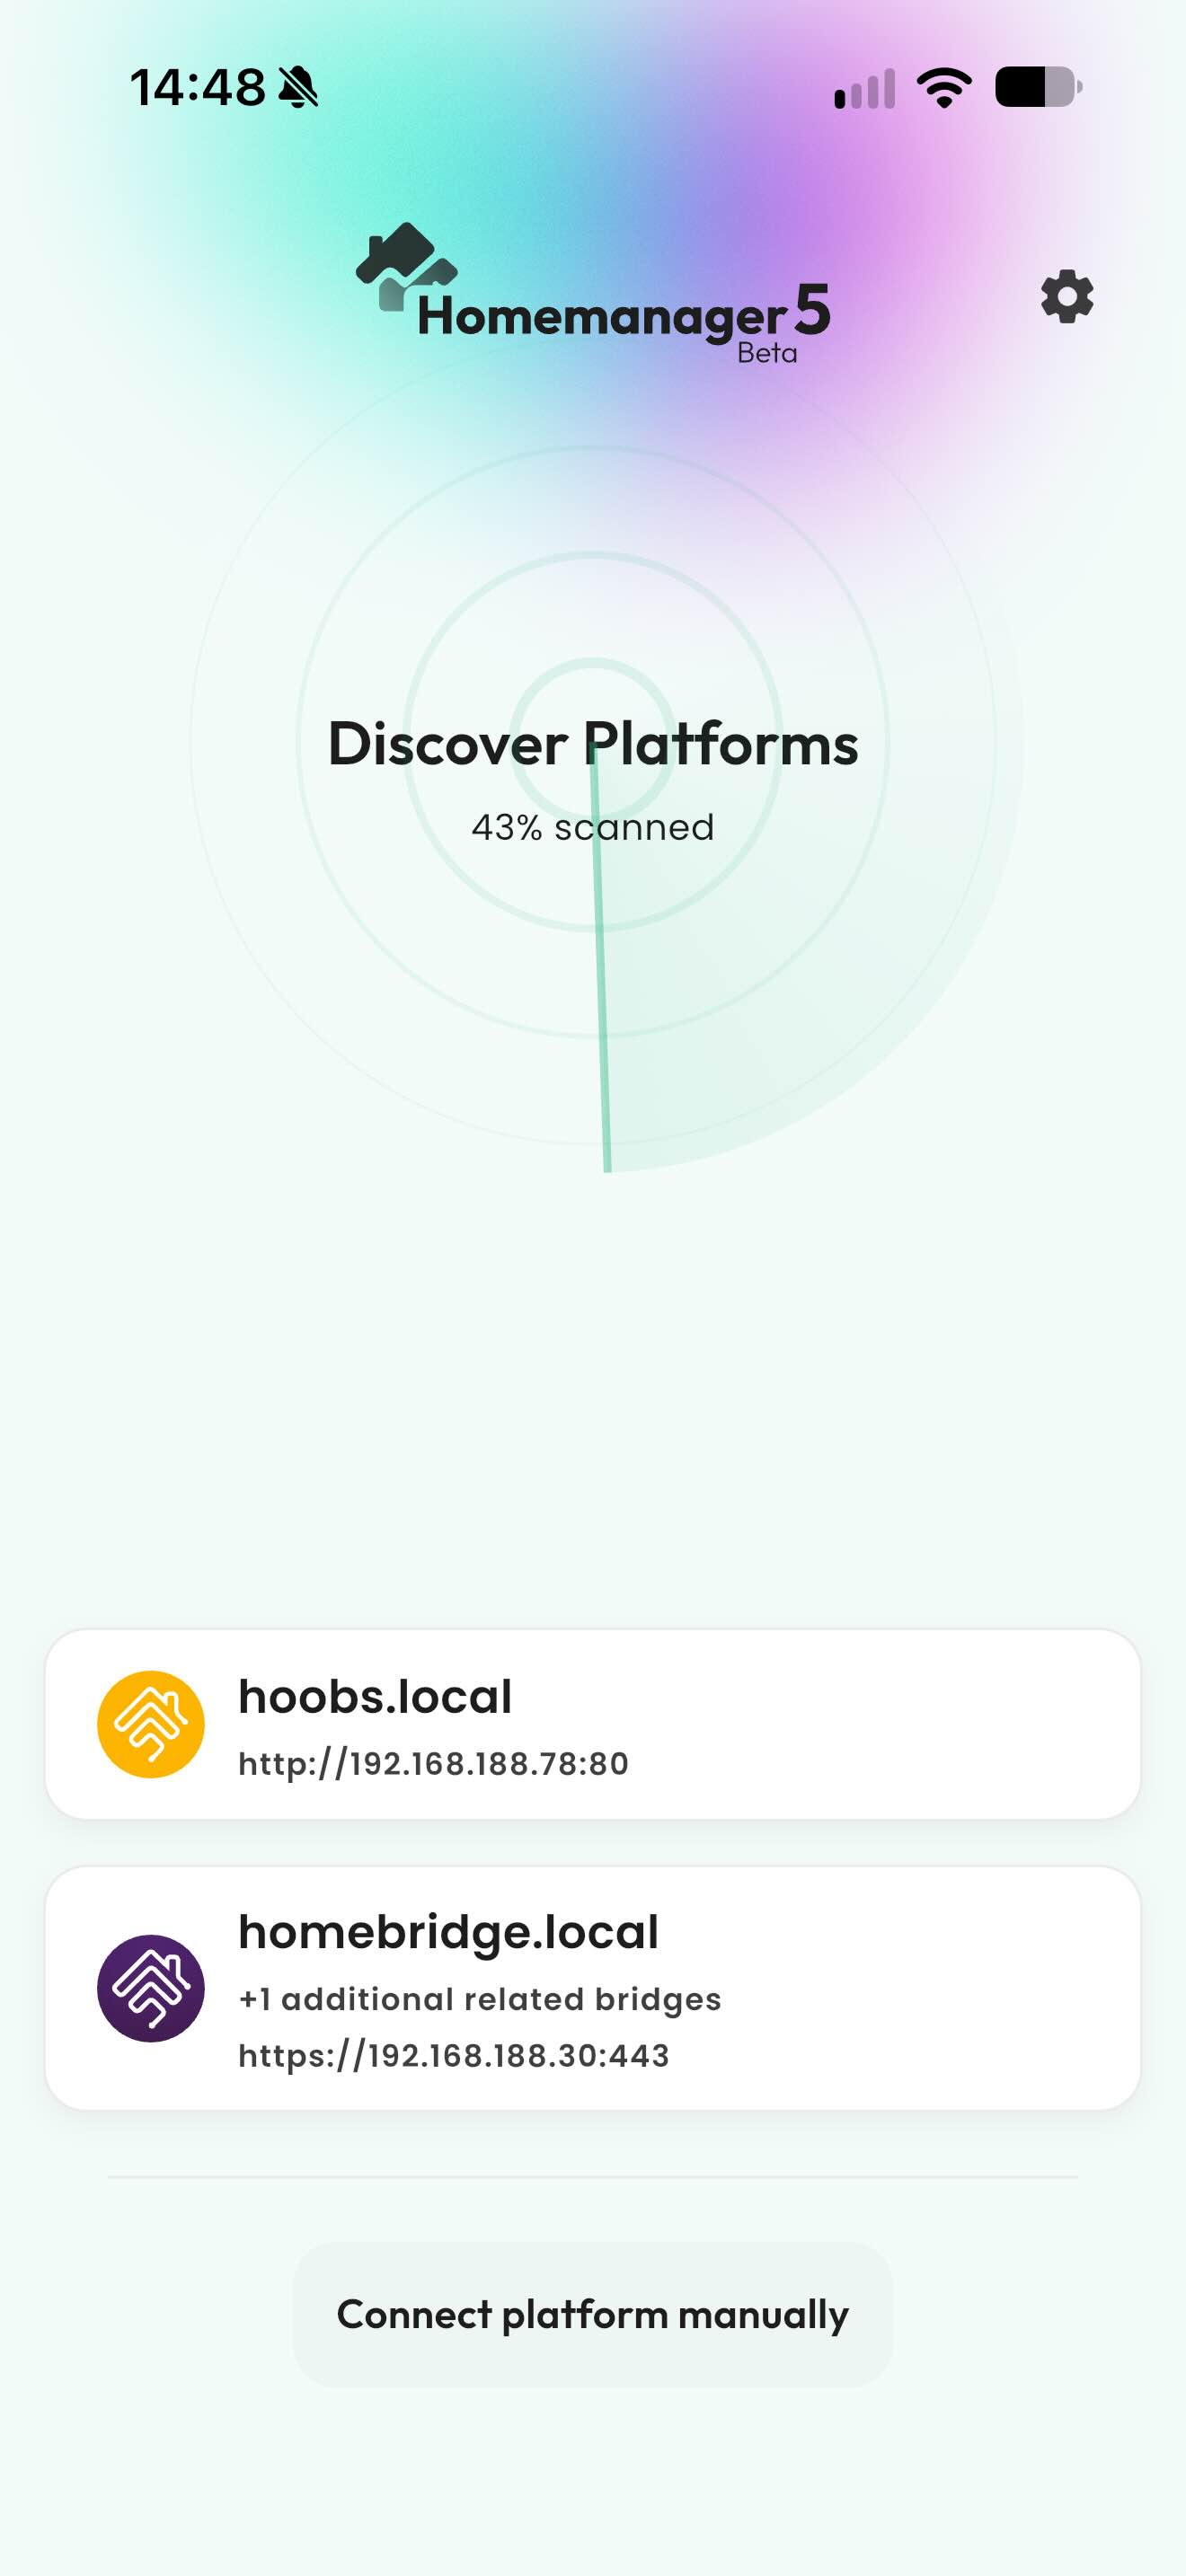
Prerequisites
Before starting the connection process, confirm the following:
- The server (Homebridge or HOOBS) is powered on and connected to your local network via Ethernet or Wi-Fi.
- The web interface is active (
homebridge-config-ui-xfor Homebridge, or the system UI for HOOBS). - Your iPhone or iPad is connected to the same Wi-Fi network as the server.
- iOS has granted Homemanager permission to access the local network.
Do not connect your iOS device to an isolated guest Wi-Fi network. Guest networks typically enable client isolation, preventing devices from communicating directly with each other.
Method 1: Automatic Discovery (mDNS / Bonjour)
Start the network scan
When opening Homemanager for the first time, an onboarding assistant guides you through the setup. You can follow the installation steps or jump directly to Connect to Server if your instance is already running on the network.
If you already manage a server in the app, navigate to the Platforms screen and tap Add Platform.
Homemanager immediately scans your local network using mDNS and Bonjour to detect active Homebridge and HOOBS instances.
Select your server
Detected servers appear in the discovery list:
- Homebridge: Identified by the Homebridge logo, the hostname (such as
homebridge.local), and the address with port (such ashttps://192.168.188.30:443). Homemanager also detects associated child bridges and displays them inline (for example, +1 additional related bridges). - HOOBS: Identified by the yellow HOOBS icon, the hostname
hoobs.local, and port80.
Tap your server in the list to proceed.
Create an account or sign in
Homemanager checks the instance status and opens the corresponding screen:
Initial setup directly in the app
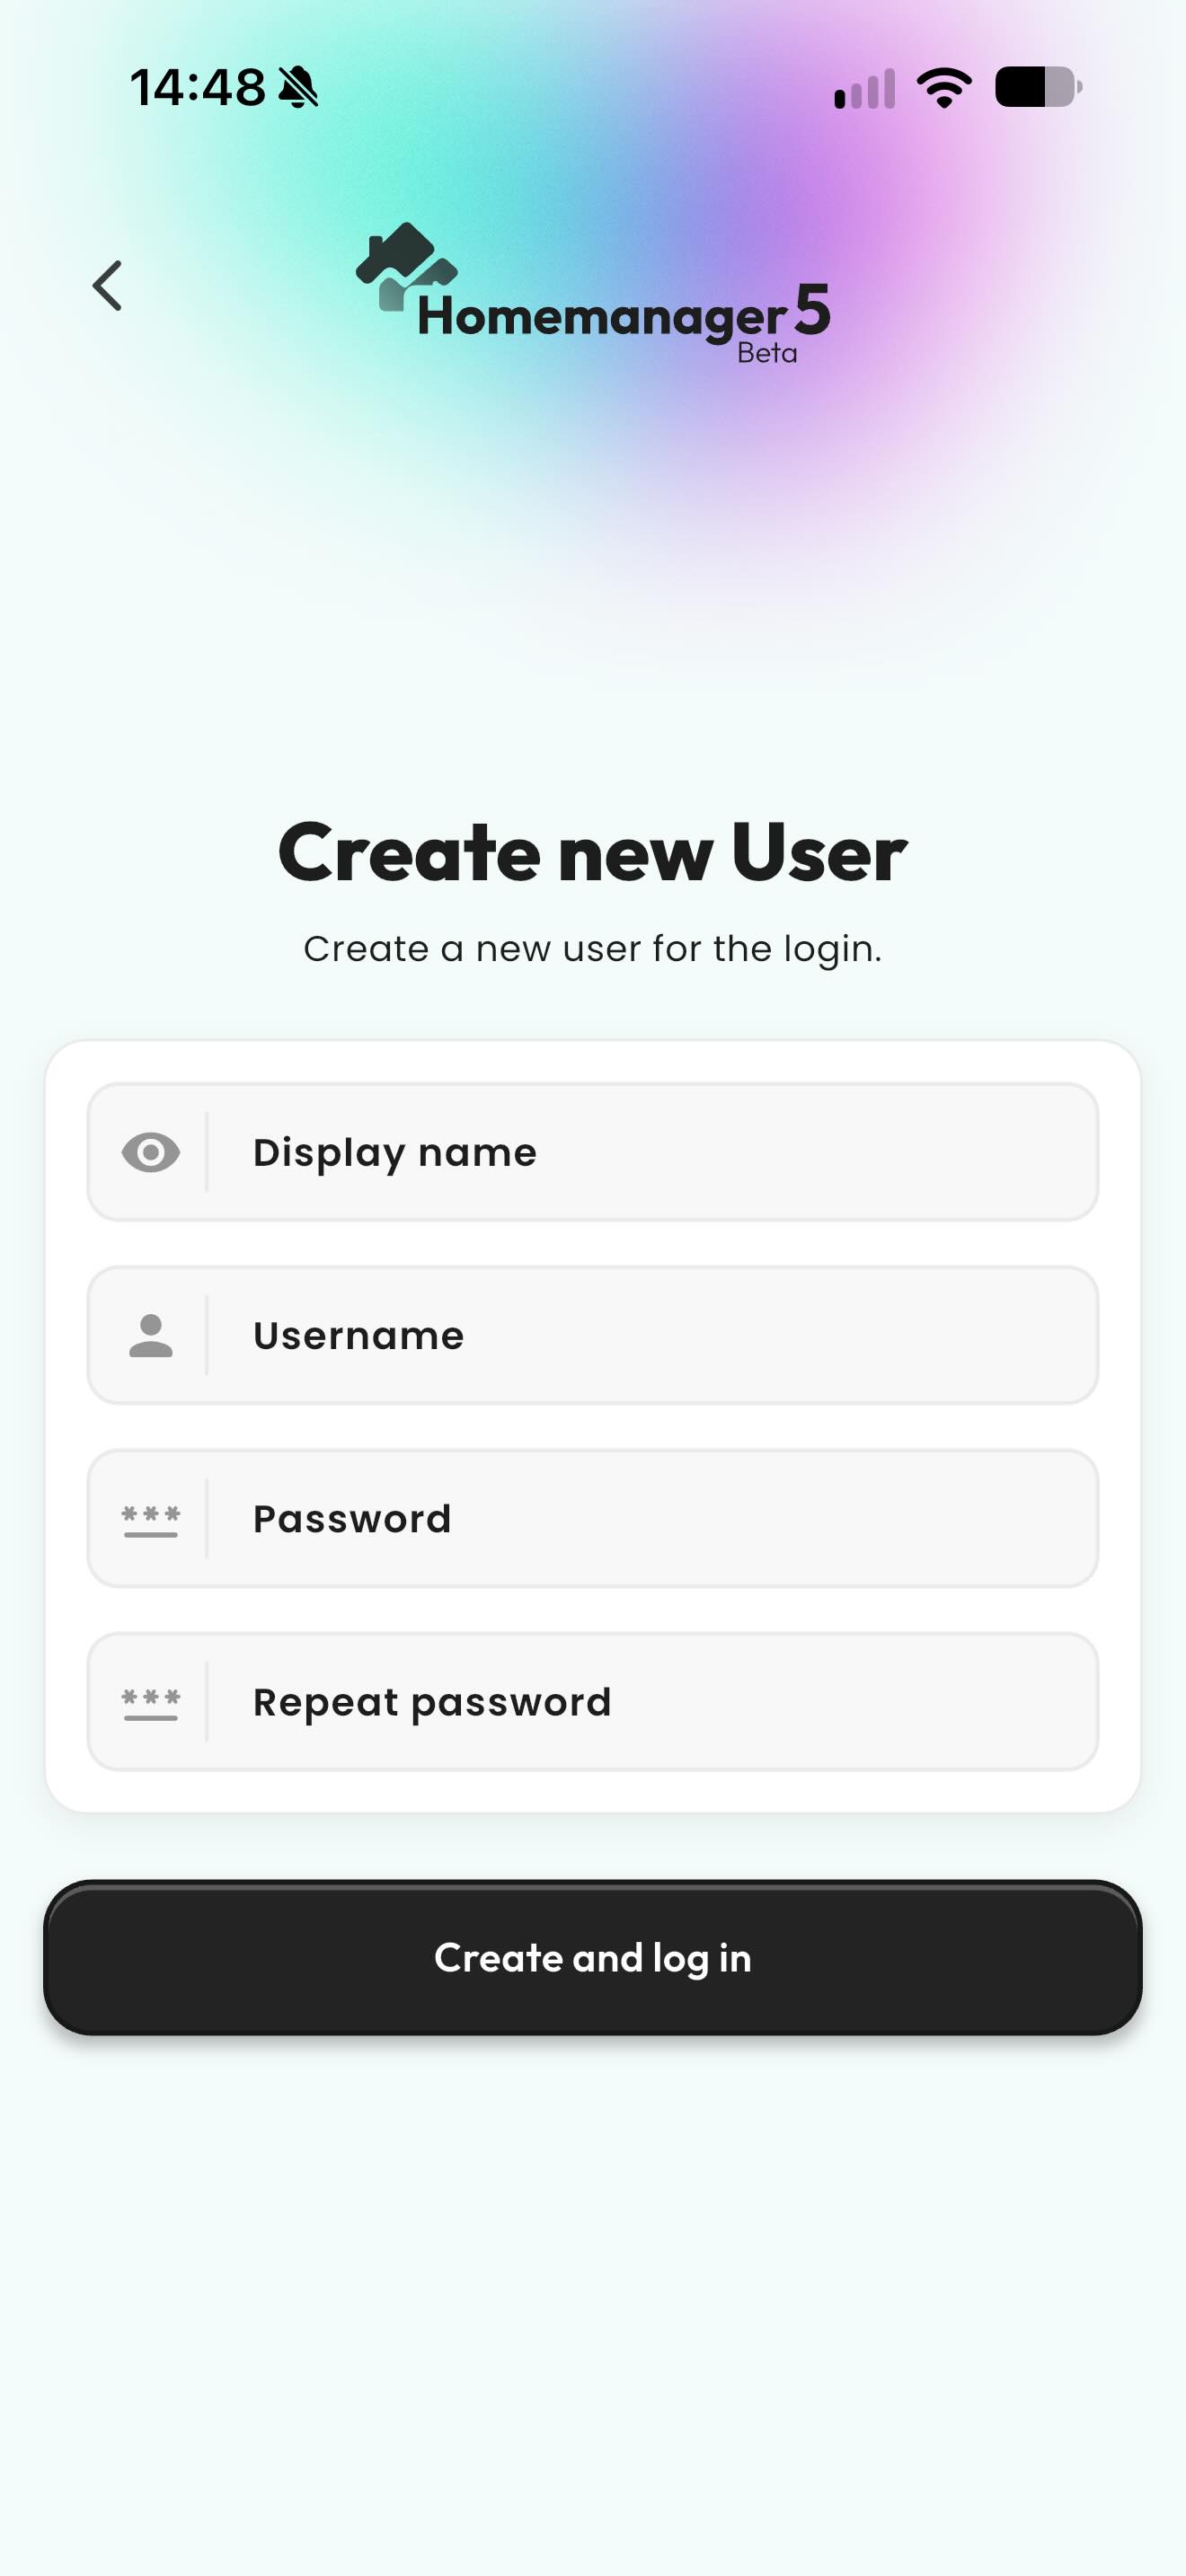
When connecting to a newly installed server without an existing account, Homemanager opens the Create new User screen:
- Display name: Enter an administrative profile name (such as your first name or Admin).
- Username: Choose your login username (such as
admin). - Password & Repeat password: Enter a secure password and repeat it for confirmation.
- Tap Create and log in.
The administrator account is configured directly on your server, and Homemanager finishes the connection immediately.
Sign in to an existing instance
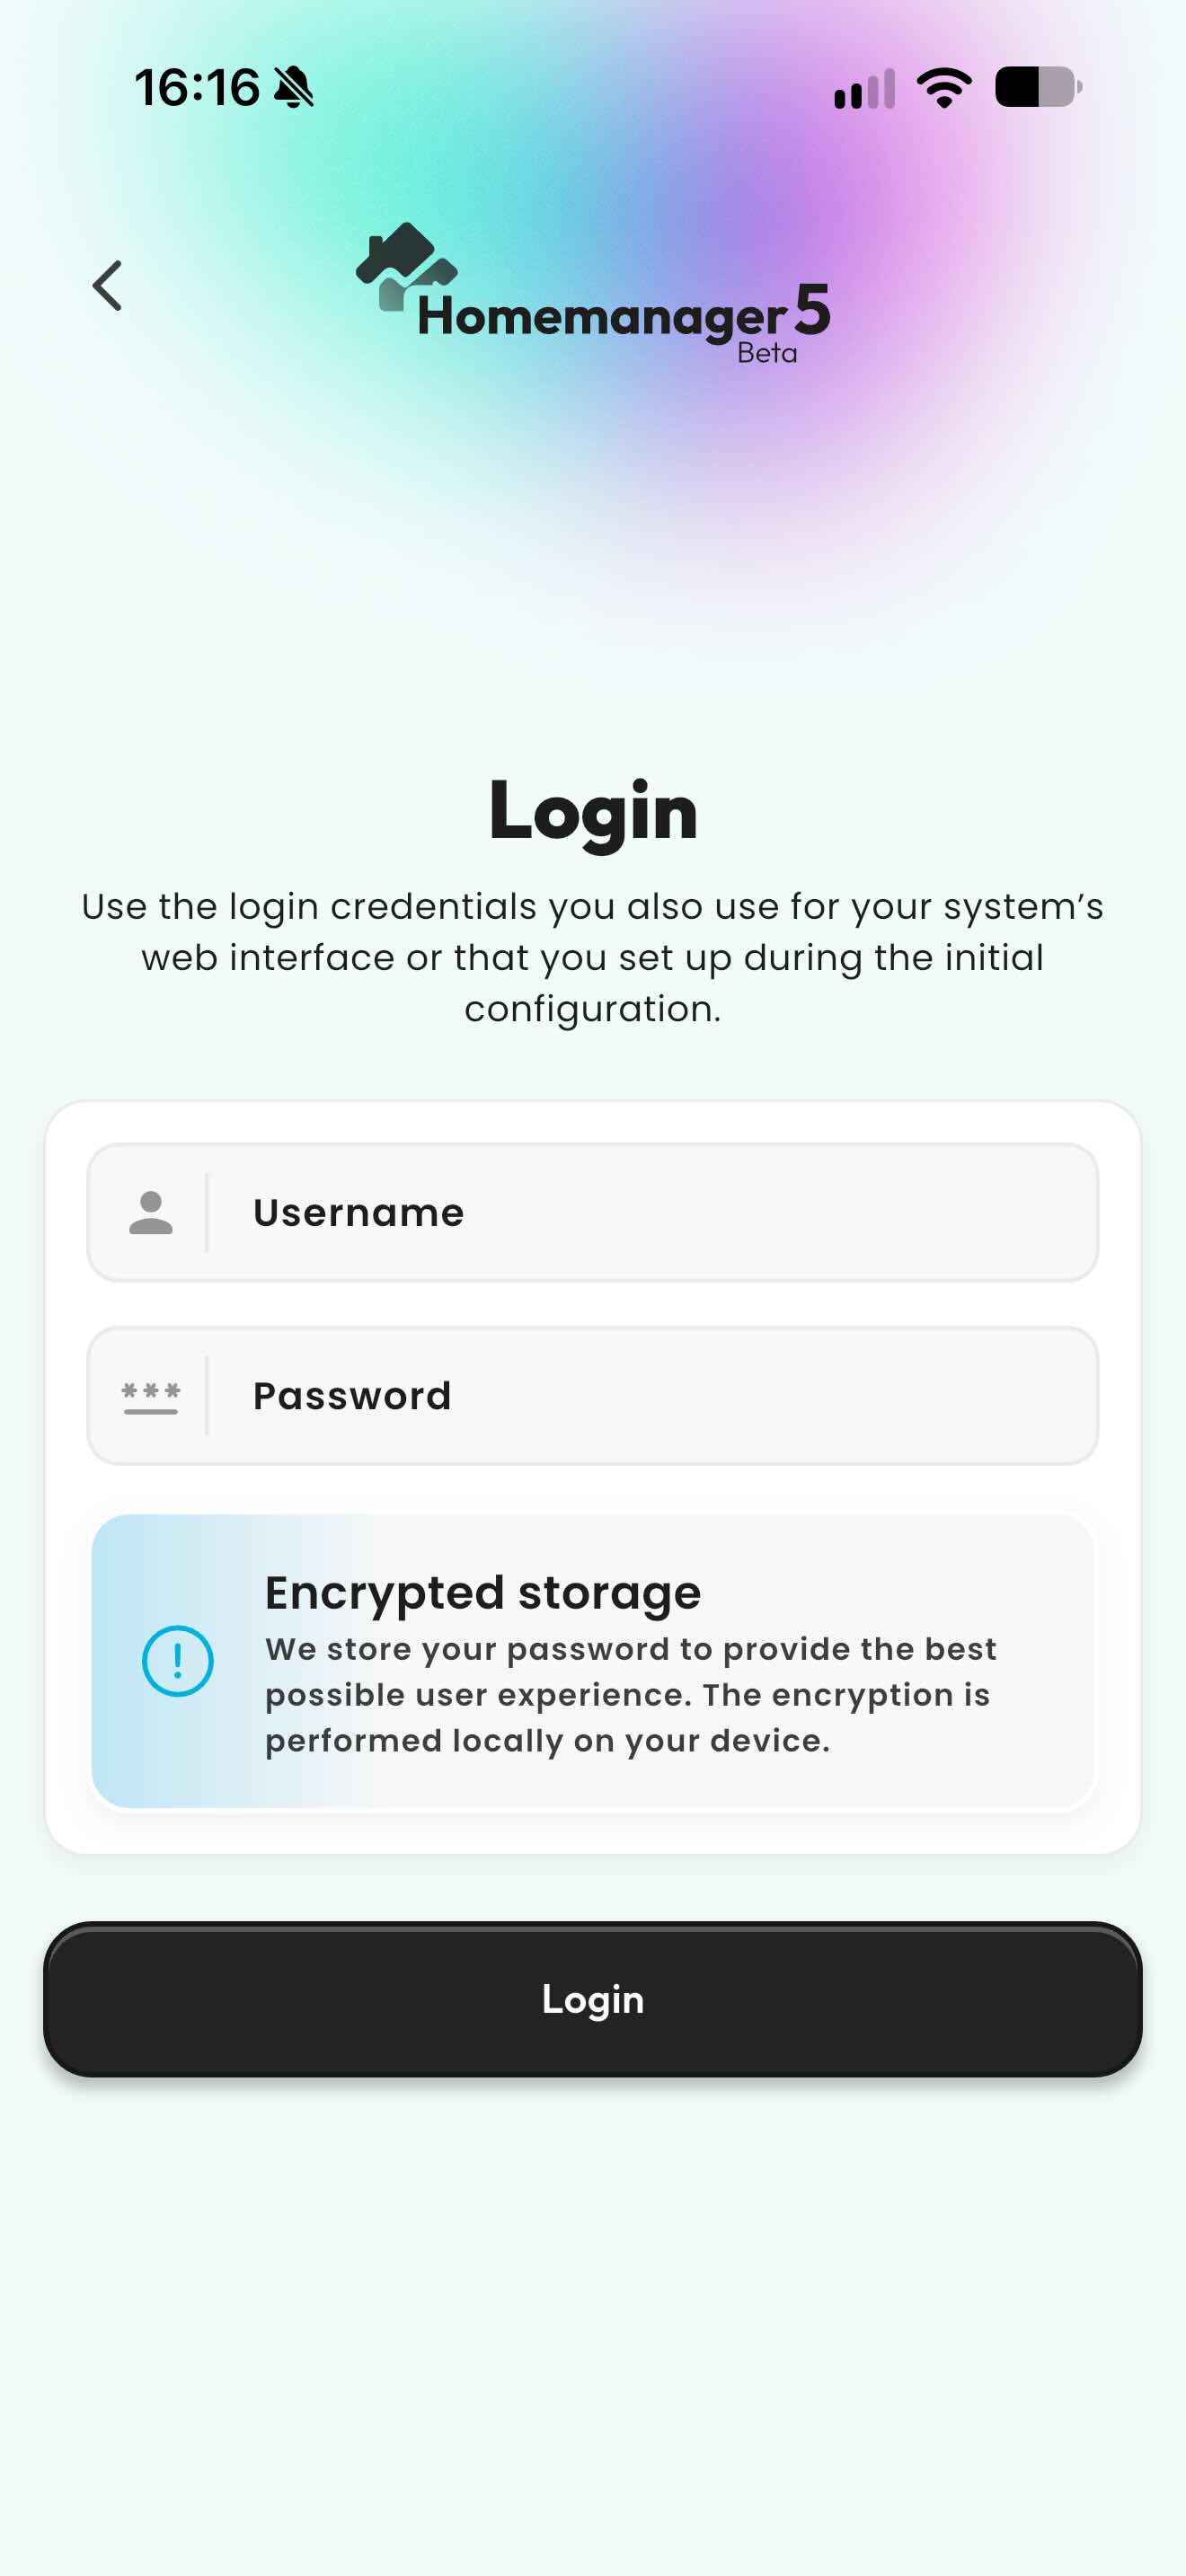
If your server is already configured, the Login screen appears:
- Username & Password: Enter your existing dashboard credentials (the same login you use in your desktop browser).
- Tap Login.
Encrypted storage: Homemanager stores your credentials encrypted locally in the iOS Keychain. Encryption happens entirely on your device. Credentials are never transmitted to external cloud servers.
Method 2: Manual Connection via IP and Port
If automatic discovery does not list your server, you can connect directly using its local IP address and port. This is often necessary in networks with isolated subnets, VLANs, or routers that filter multicast traffic.
Open manual entry
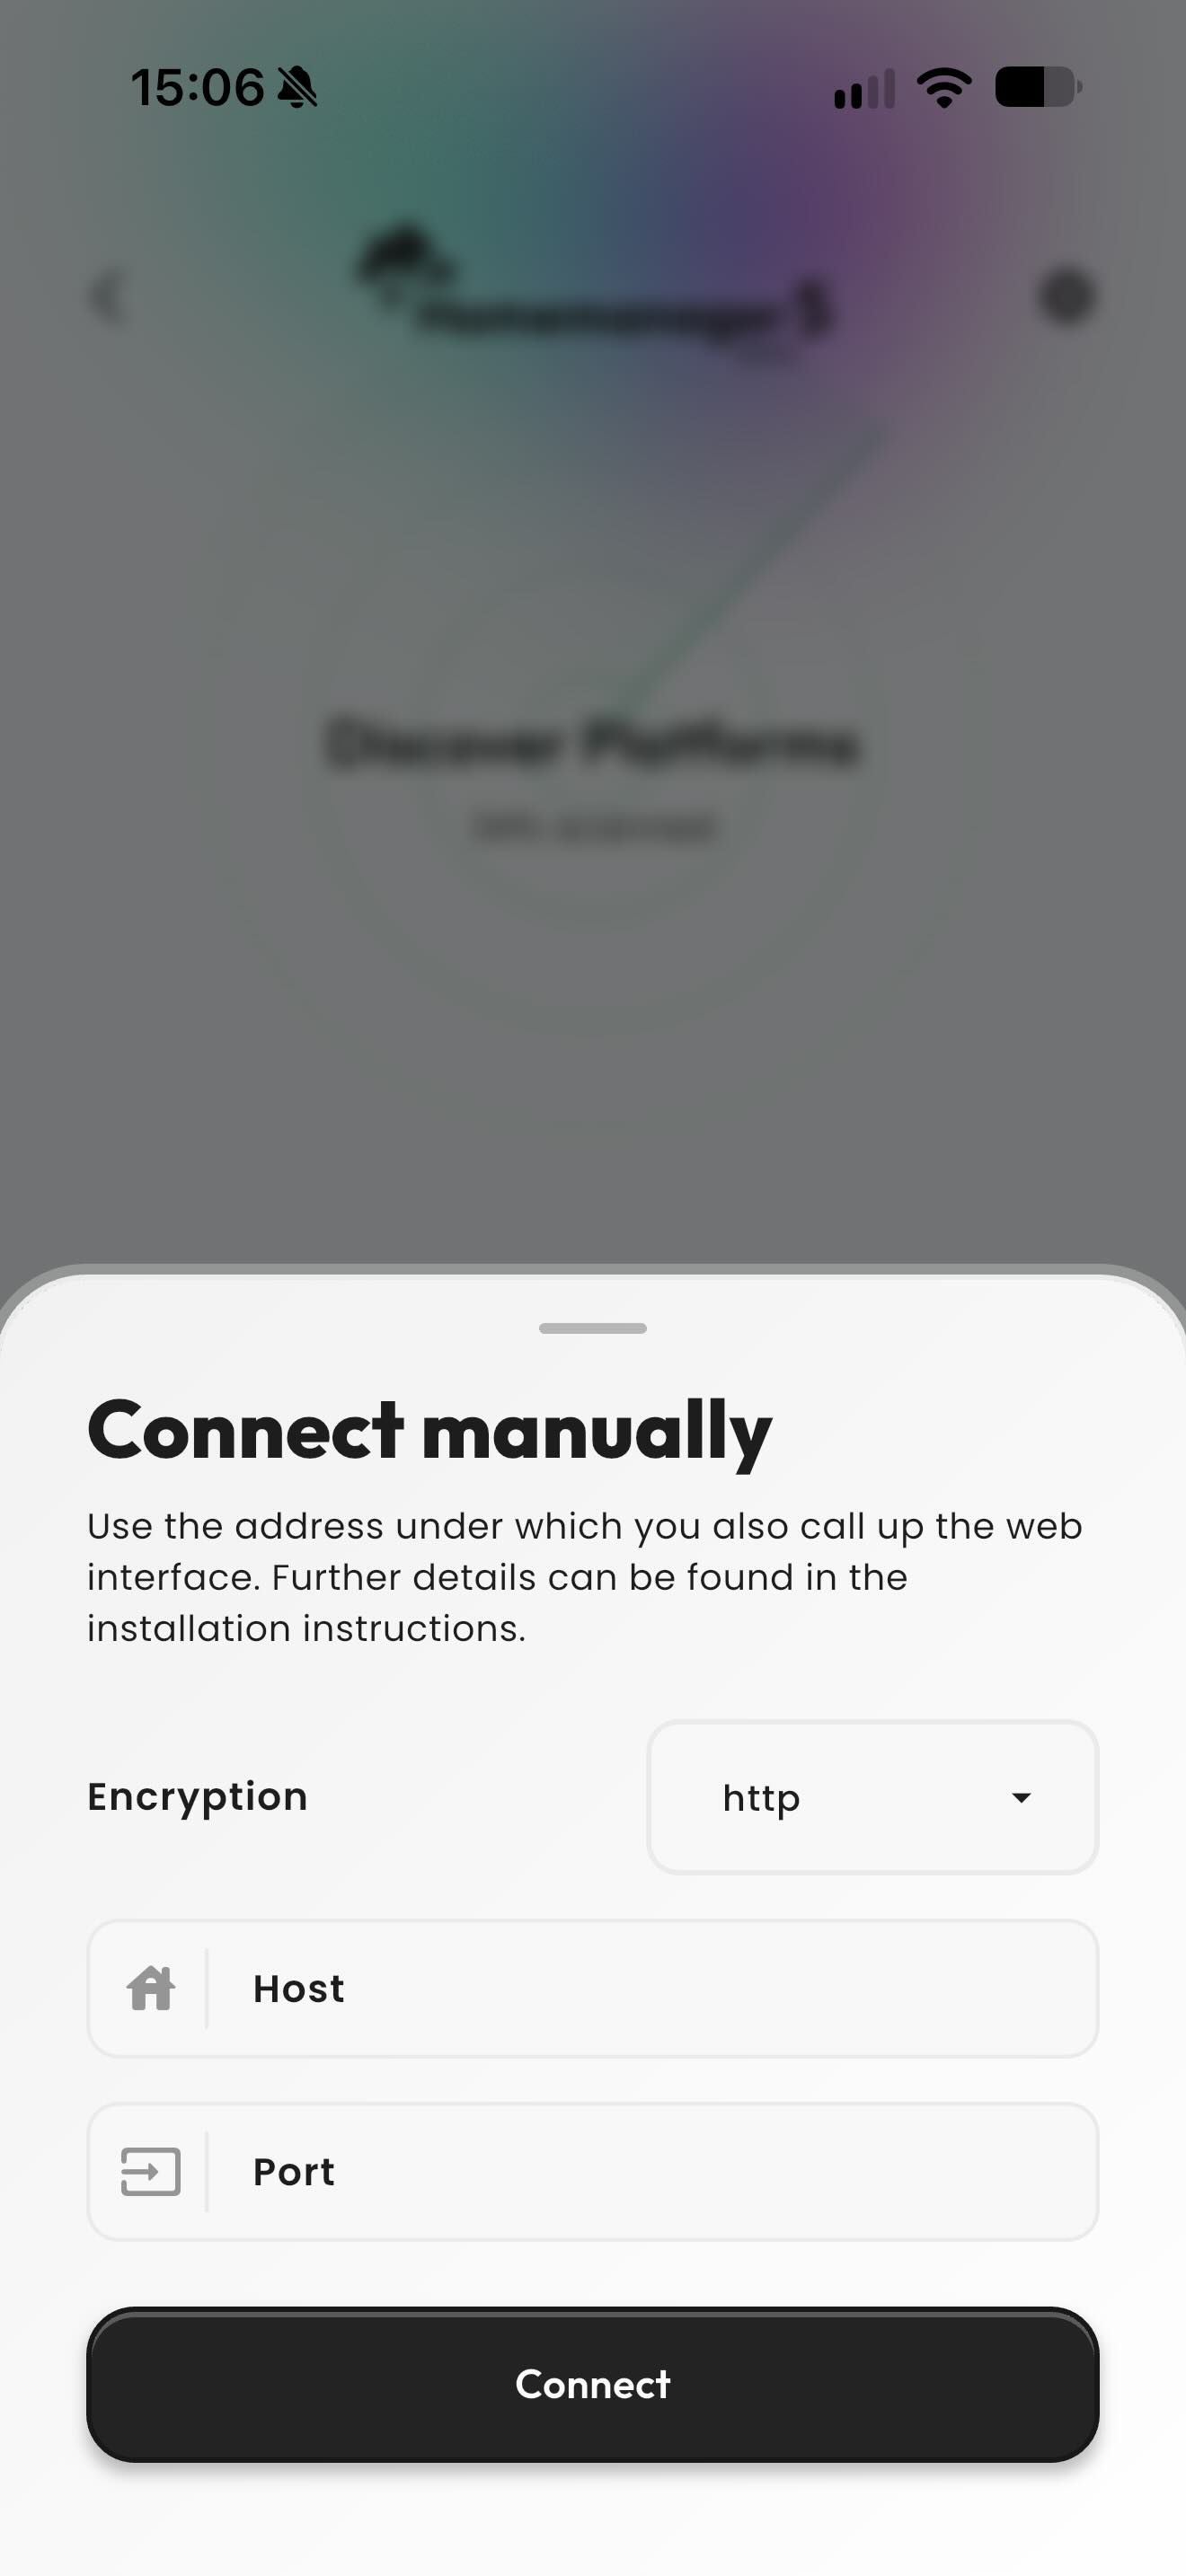
Tap Connect platform manually at the bottom of the discovery screen.
Enter connection parameters
Provide the connection details for your server:
- Encryption:
- Choose
httpsif you are using the official Homebridge Raspberry Pi image on port443or have configured an SSL certificate in your system settings. - Choose
httpif you are using the unencrypted default port8581for Homebridge UI or a standard HOOBS installation on port80.
- Choose
- Host: Enter your server's local IPv4 address (such as
192.168.178.50) or local hostname (such ashomebridge.local). - Port: The web interface port:
- 8581: Default port for Homebridge (
homebridge-config-ui-x). - 443: Standard HTTPS port on the official Raspberry Pi image.
- 80: Default port on many HOOBS setups.
- 8581: Default port for Homebridge (
Verify and connect
Tap Connect. Homemanager verifies that the endpoint is reachable and prompts for your login credentials.
The Manual Route: Browser Access
You can open the web interface from any desktop browser to confirm server health. If the dashboard fails to load in Safari on your iPhone, the issue is almost always located in your server or local network configuration.
Default Local Addresses
| System | Default Browser URL | Fallback IP Address |
|---|---|---|
| Homebridge (Raspberry Pi Image) | https://homebridge.local | https://<server-ip> or http://<server-ip>:8581 |
| Homebridge (Docker / Synology / macOS) | http://homebridge.local:8581 | http://<server-ip>:8581 |
| HOOBS | http://hoobs.local | http://<server-ip> |
HTTPS Certificate Warnings: The official Homebridge image uses a self-signed SSL certificate. When accessing https://homebridge.local in a desktop browser, Safari or Chrome will display a warning that the connection is not private. On your local network, you can safely proceed by clicking Advanced > Proceed to homebridge.local. Homemanager handles this certificate verification automatically in your local environment.
Troubleshooting and FAQ
Next Steps
Once your server is connected, explore the core administration tools available in Homemanager:
Finding and Installing Plugins
Browse verified community plugins and configure accessories without editing JSON files directly.
Pairing with Apple Home
Scan the HomeKit QR code to add your Homebridge or HOOBS bridge to the Apple Home app.
App FAQ & Support
Answers to common questions regarding licensing, remote access, background notifications, and diagnostic logs.
Homebridge & Homemanager Guide
Practical guide to Homebridge and Homemanager: server installation, plugin configuration, troubleshooting, and smart home management on iPhone and iPad.
Pairing with Apple Home
Connect Homebridge to the Apple Home app: scan QR codes, enter manual setup PINs, resolve uncertified accessory warnings, and fix common pairing errors.