
 Homemanager Docs

How to Install Homebridge
Bring more devices into Apple Home: Install Homebridge on a Raspberry Pi, NAS, Docker, Mac, or Windows PC with a step-by-step guide for your setup.
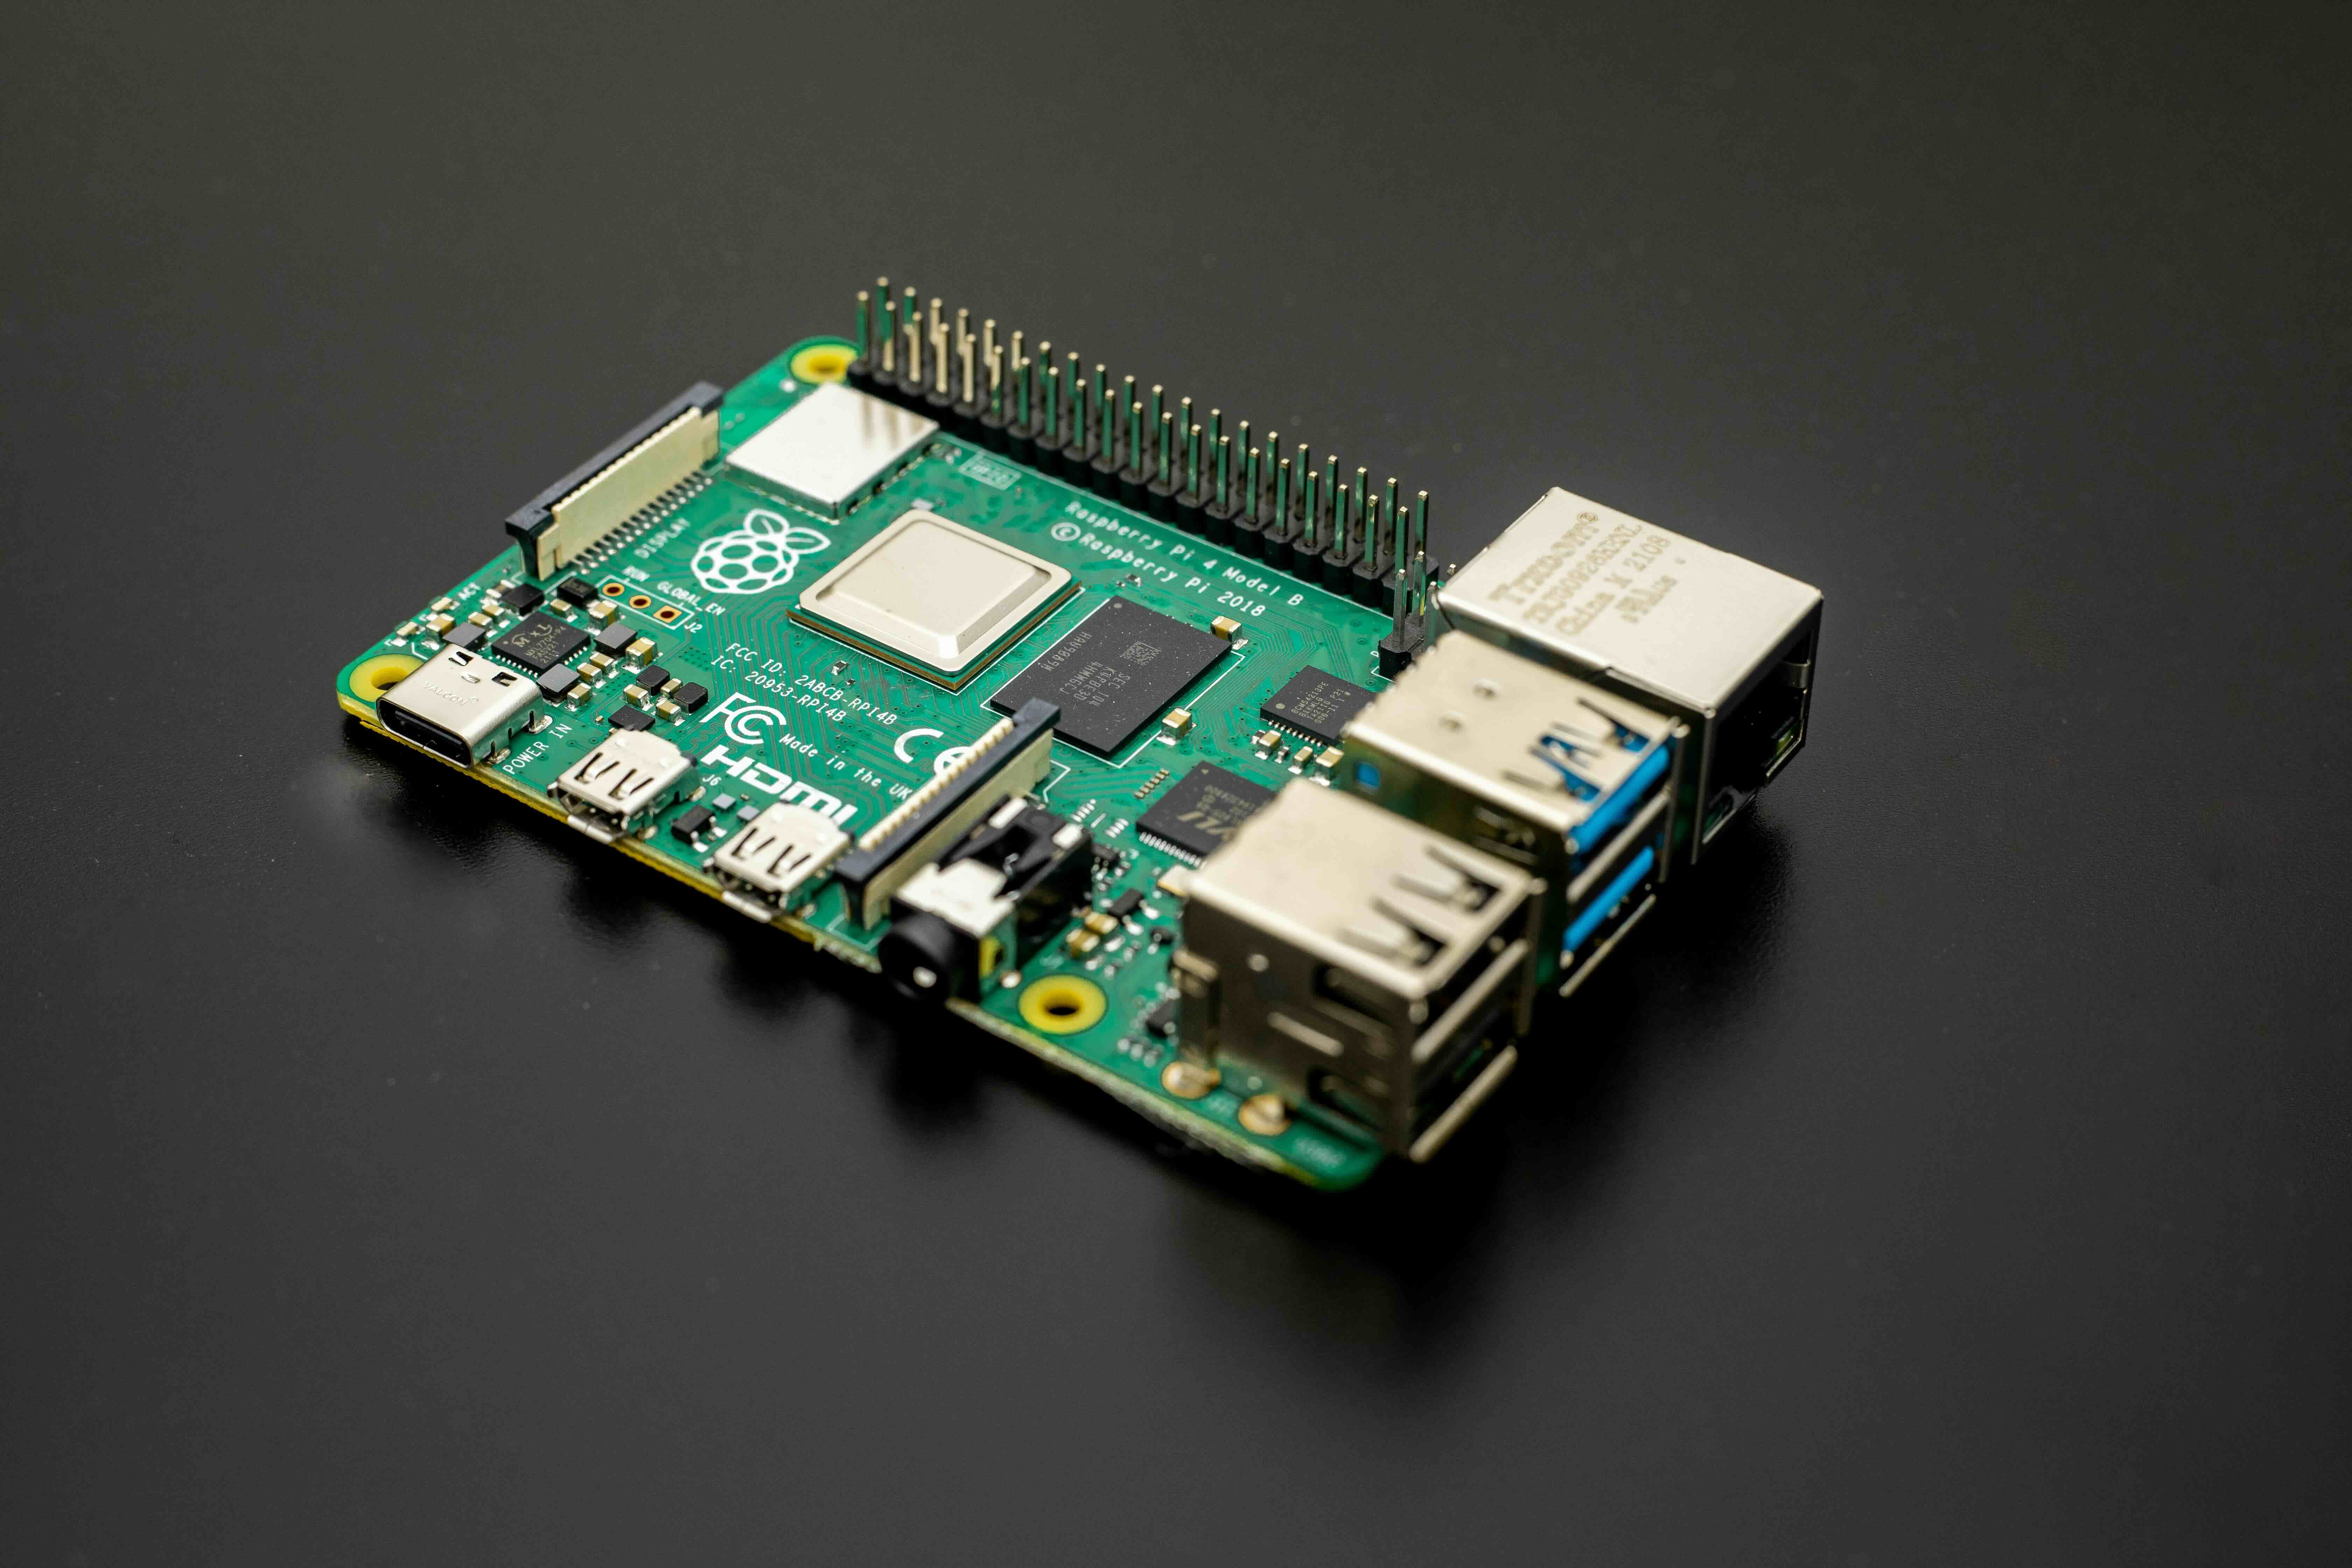
Homebridge brings devices into Apple Home that lack native HomeKit support: from smart plugs and sensors to robot vacuums, cameras, and network routers like the FRITZ!Box. As a local bridge, Homebridge translates commands directly into Apple's HomeKit protocol. The open-source project is free and published under the Apache-2.0 license.
All it needs is a computer that stays on around the clock, and you may already own one.
What do you already have?
Pick the option closest to your setup. Each guide covers the full installation step by step.
Nothing yet: Raspberry Pi
The most widely used platform for Homebridge is this small, silent computer. You set it up with the official image and don't need a terminal.
A Synology NAS
Your NAS already runs day and night. On DSM 7, you install Homebridge from Package Center without a terminal.
A home server: Docker
On Linux, Unraid, Proxmox, or another NAS, Homebridge runs as a container next to your other services.
Linux without Docker
If Raspberry Pi OS or Debian is already running, you can install Homebridge from the official repository.
A Mac that stays on
A Mac mini works especially well if you plan to add cameras. Homebridge runs on it as a background service.
A Windows PC
Try Homebridge with your devices here before you decide on dedicated hardware.
Still deciding on hardware?
Our hardware comparison covers power consumption, memory, and storage.
If you prefer to manage Homebridge from your iPhone or iPad, you can do that with Homemanager, our companion app for iOS and iPadOS. All guides cover both options: the web interface and the app.
From installation to your first device
Install Homebridge
Follow the guide for your system. Every method gives you Homebridge, its web interface, and a service that keeps running in the background.
Create your account
The first time you connect, you create an admin account. You can do this in the web interface or, on iPhone and iPad, in the Homemanager app.
Add Homebridge to Apple Home
Pair Homebridge with Apple Home by scanning its QR code.
Connect your devices
Find a plugin for your device and set it up. The device then appears in Apple Home.
Further resources
Guides in Homemanager Docs
- Choose Your System: Hardware Comparison
- Startup Errors & Log Analysis
- Fixing "No Response" in Apple Home
Official Homebridge Resources
- Official Homebridge Wiki
- Homebridge Raspberry Pi Image Wiki
- Install Homebridge on Synology DSM
- Install Homebridge on Docker
- Install Homebridge on Debian or Ubuntu
- Install Homebridge on macOS
- Install Homebridge on Windows
Last updated on
Pairing with Apple Home
Connect Homebridge to the Apple Home app: scan QR codes, enter manual setup PINs, resolve uncertified accessory warnings, and fix common pairing errors.
Choose Your System
Which server is best for Homebridge? Compare Raspberry Pi, Synology NAS, Docker, mini PCs, Mac, and Windows on power consumption and performance.